
I’ve handed down a few pairs of cozy footed pajamas between my kids. Along the way the soles lost whatever non-skid properties they had and became very slippery. We got them out this fall to keep my two-year-old cozy. He was cozy … and he slid all over on our slick floors, wiping out a few times. Neither slips nor cold bare feet would do. It was time for DIY non-slip soles.
I outfitted two pairs of Carter’s footie pajamas. Both attempts turned out great:

Materials: I used a discarded bike inner tube that could no longer be patched. If you don’t have one, you might be able to score them from a bike shop or repair co-op. I also used heavy-duty Sashiko thread and needle, but I expect you could do this with any needle and thread.
Process:
- Trace and cut a template out of cardboard (like a cereal box) and hold it up to the pajama feet to make sure you have the shape right, before you start cutting rubber.

- Cut the length of inner tube you need for one sole. Starting next to one side of the valve stem will waste as little material as possible. One full-size 26″ tube makes a lot of soles! Then split your cut tube section by cutting it lengthwise to flatten it into a rectangle.
- Trace the sole template onto the rubber. If there’s a curve to the sole, flip it over after tracing one to make sure the two soles are mirror images for the left and right feet. I found one side of the tube had less grip and made sure that side faced up. And I traced and wrote on that side:

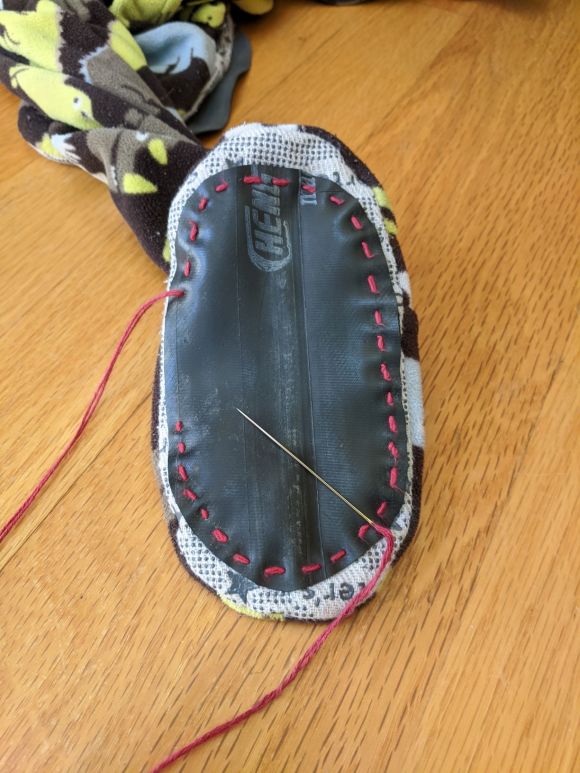
- Pin the soles so they don’t move while sewing.


- Sew them on! Start and end on the inside of the foot. I had to push pretty hard to get the needle through the rubber for each stitch. The big mistake to avoid is sewing through more than the bottom of the pajama foot. I sewed with the pajamas right-side out, except for tying the final knot, and was mostly able to dip in and catch the right amount of pajama material on each stitch. If you go too deep, though, you’ll have a stitch binding the top and bottom of the pajama foot together. Check periodically to see if you’ve made this error so you don’t waste work.


That’s all! My son has worn them for a few months now and no longer slips. And he thinks the custom soles are the coolest, saying “thank you for sewing them daddy!” when he gets the pajamas out.
The only concern I had was the longevity of the fix. But so far they’ve held up through cycles in the washing machine and dryer with no apparent effect. My reading about this indicated that the rubber in bicycle tubes should be resistant to temperatures well above what they’d see in a dryer, but it was good to confirm.
I’m not sure a bicycle tube would be wide enough to make full soles for adult-sized footed pajamas. In that case you could do it in two pieces, or instead of adding a full-sized sole, add only enough material to accomplish the non-slip purpose. E.g., dots or stripes.
Overall: a fun project, with $0 cost given the materials I had on hand. It gave new life to some favorite pajamas and kept my son safe from falls. 2020 is a year for personal protective equipment of all sorts!