sam firke dot com

Rare blog, rattlin’ blog

Tag: mending

  • Installing a grommet to fix my belt’s torn hole
    , ,

    Installing a grommet to fix my belt’s torn hole

    A few years ago I was given a belt made out of old bike inner tubes (specifically, the Ballard Belt from Alchemy Goods). It worked great! A little stretchy and a nice repurposed object.

    Things fall apart. Eventually the belt hole that fits me got torn out:
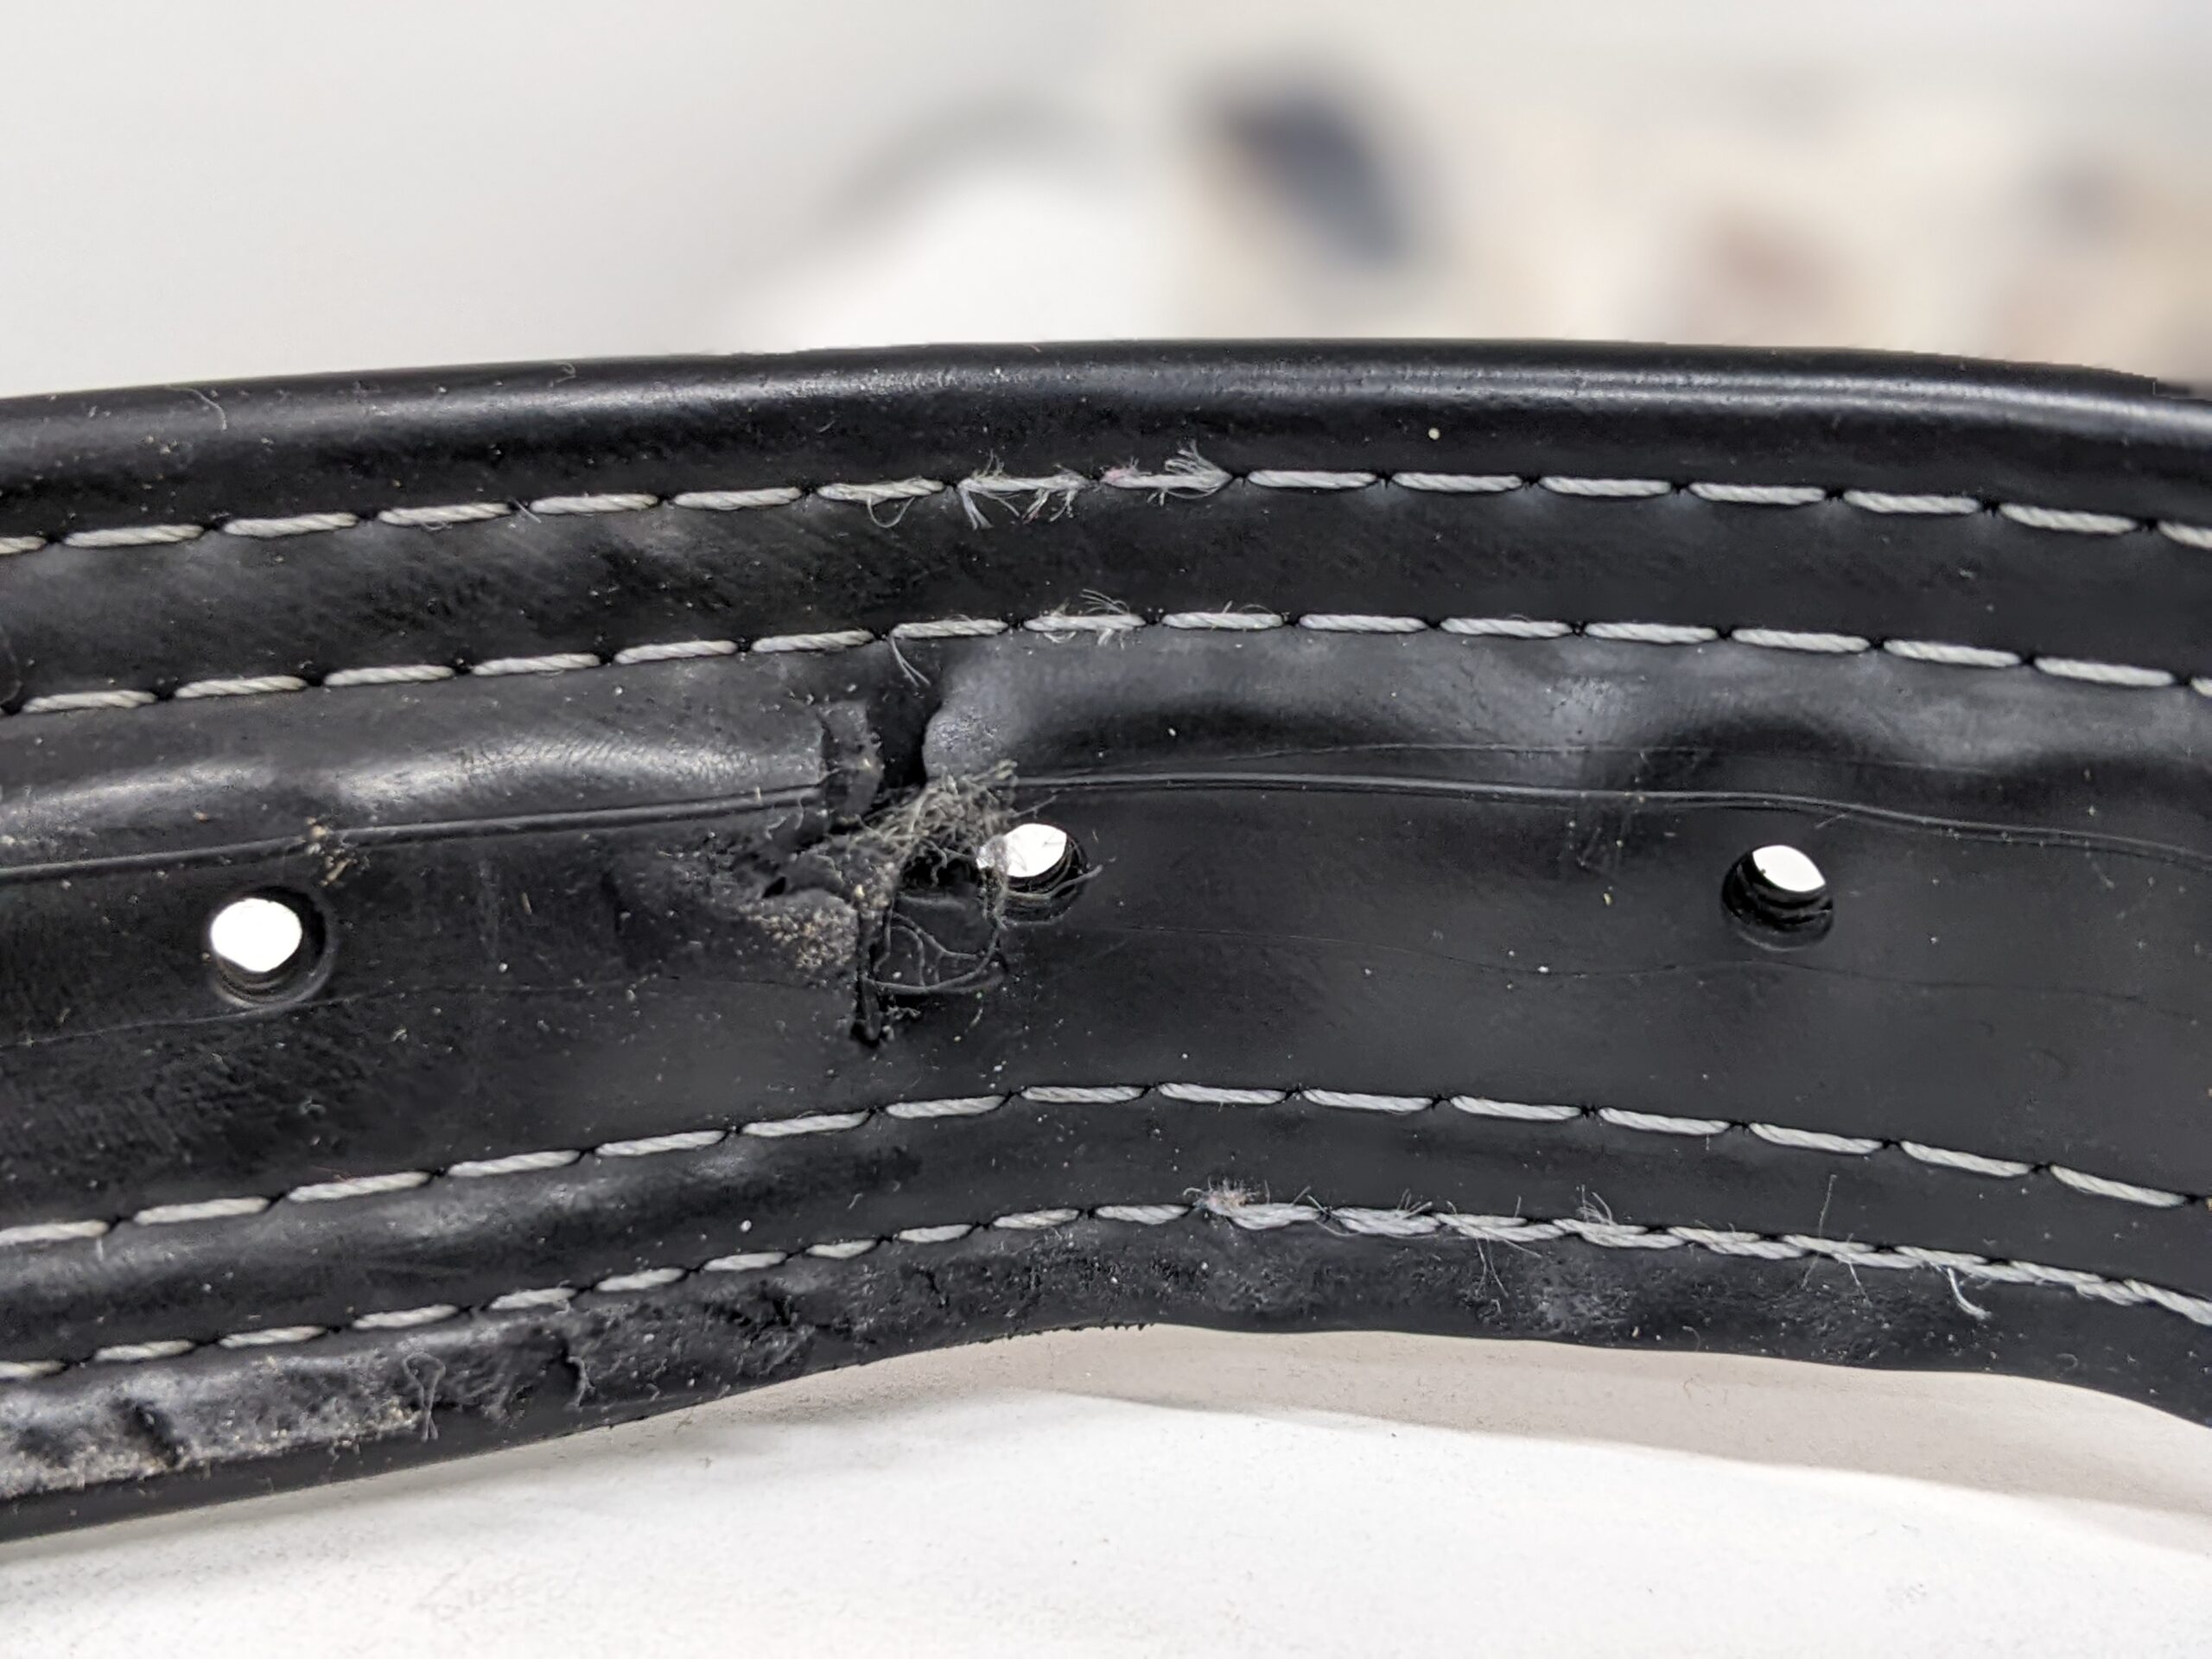
    a black belt with white stitching, one of the holes has been stretched and ripped

    I asked around and no one local had a grommet tool to lend me. So I bought my own from Sail Rite (after going down a rabbit hole and looking for vintage setter dies on eBay). With the right tool for the job, it was a ten-minute repair and the belt once again holds my trousers up. The only thing I’d change would be to get a smaller size of grommet. I used #1 size, 5/16″ in, and for a belt I think #0 (1/4″) would be better. Here’s the fix, step by step.

    First I hammered a cutter tool (in the background of this photo) to make a clean hole for the grommet, over where the old hole had failed:
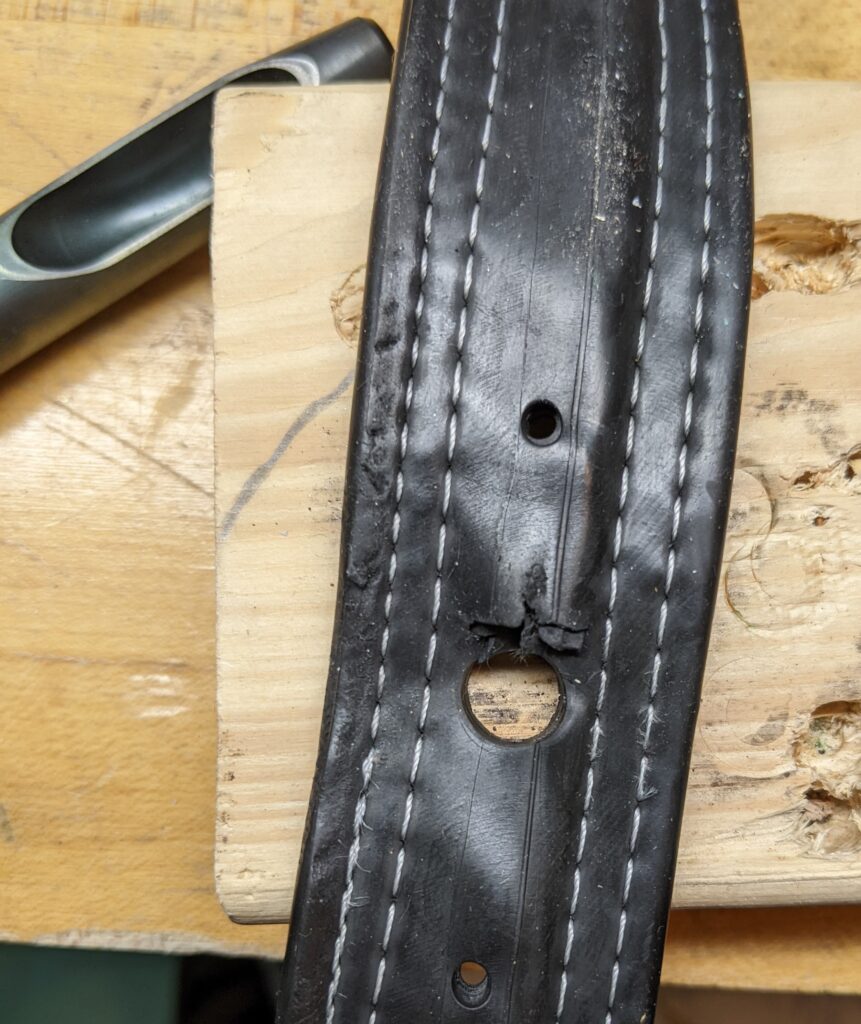
    the black belt on a scrap of wood on a wood workbench, with a clean large hole punched in it

    Then I inserted the top and bottom pieces of a grommet into the setting die and got ready to whack it with a mallet:
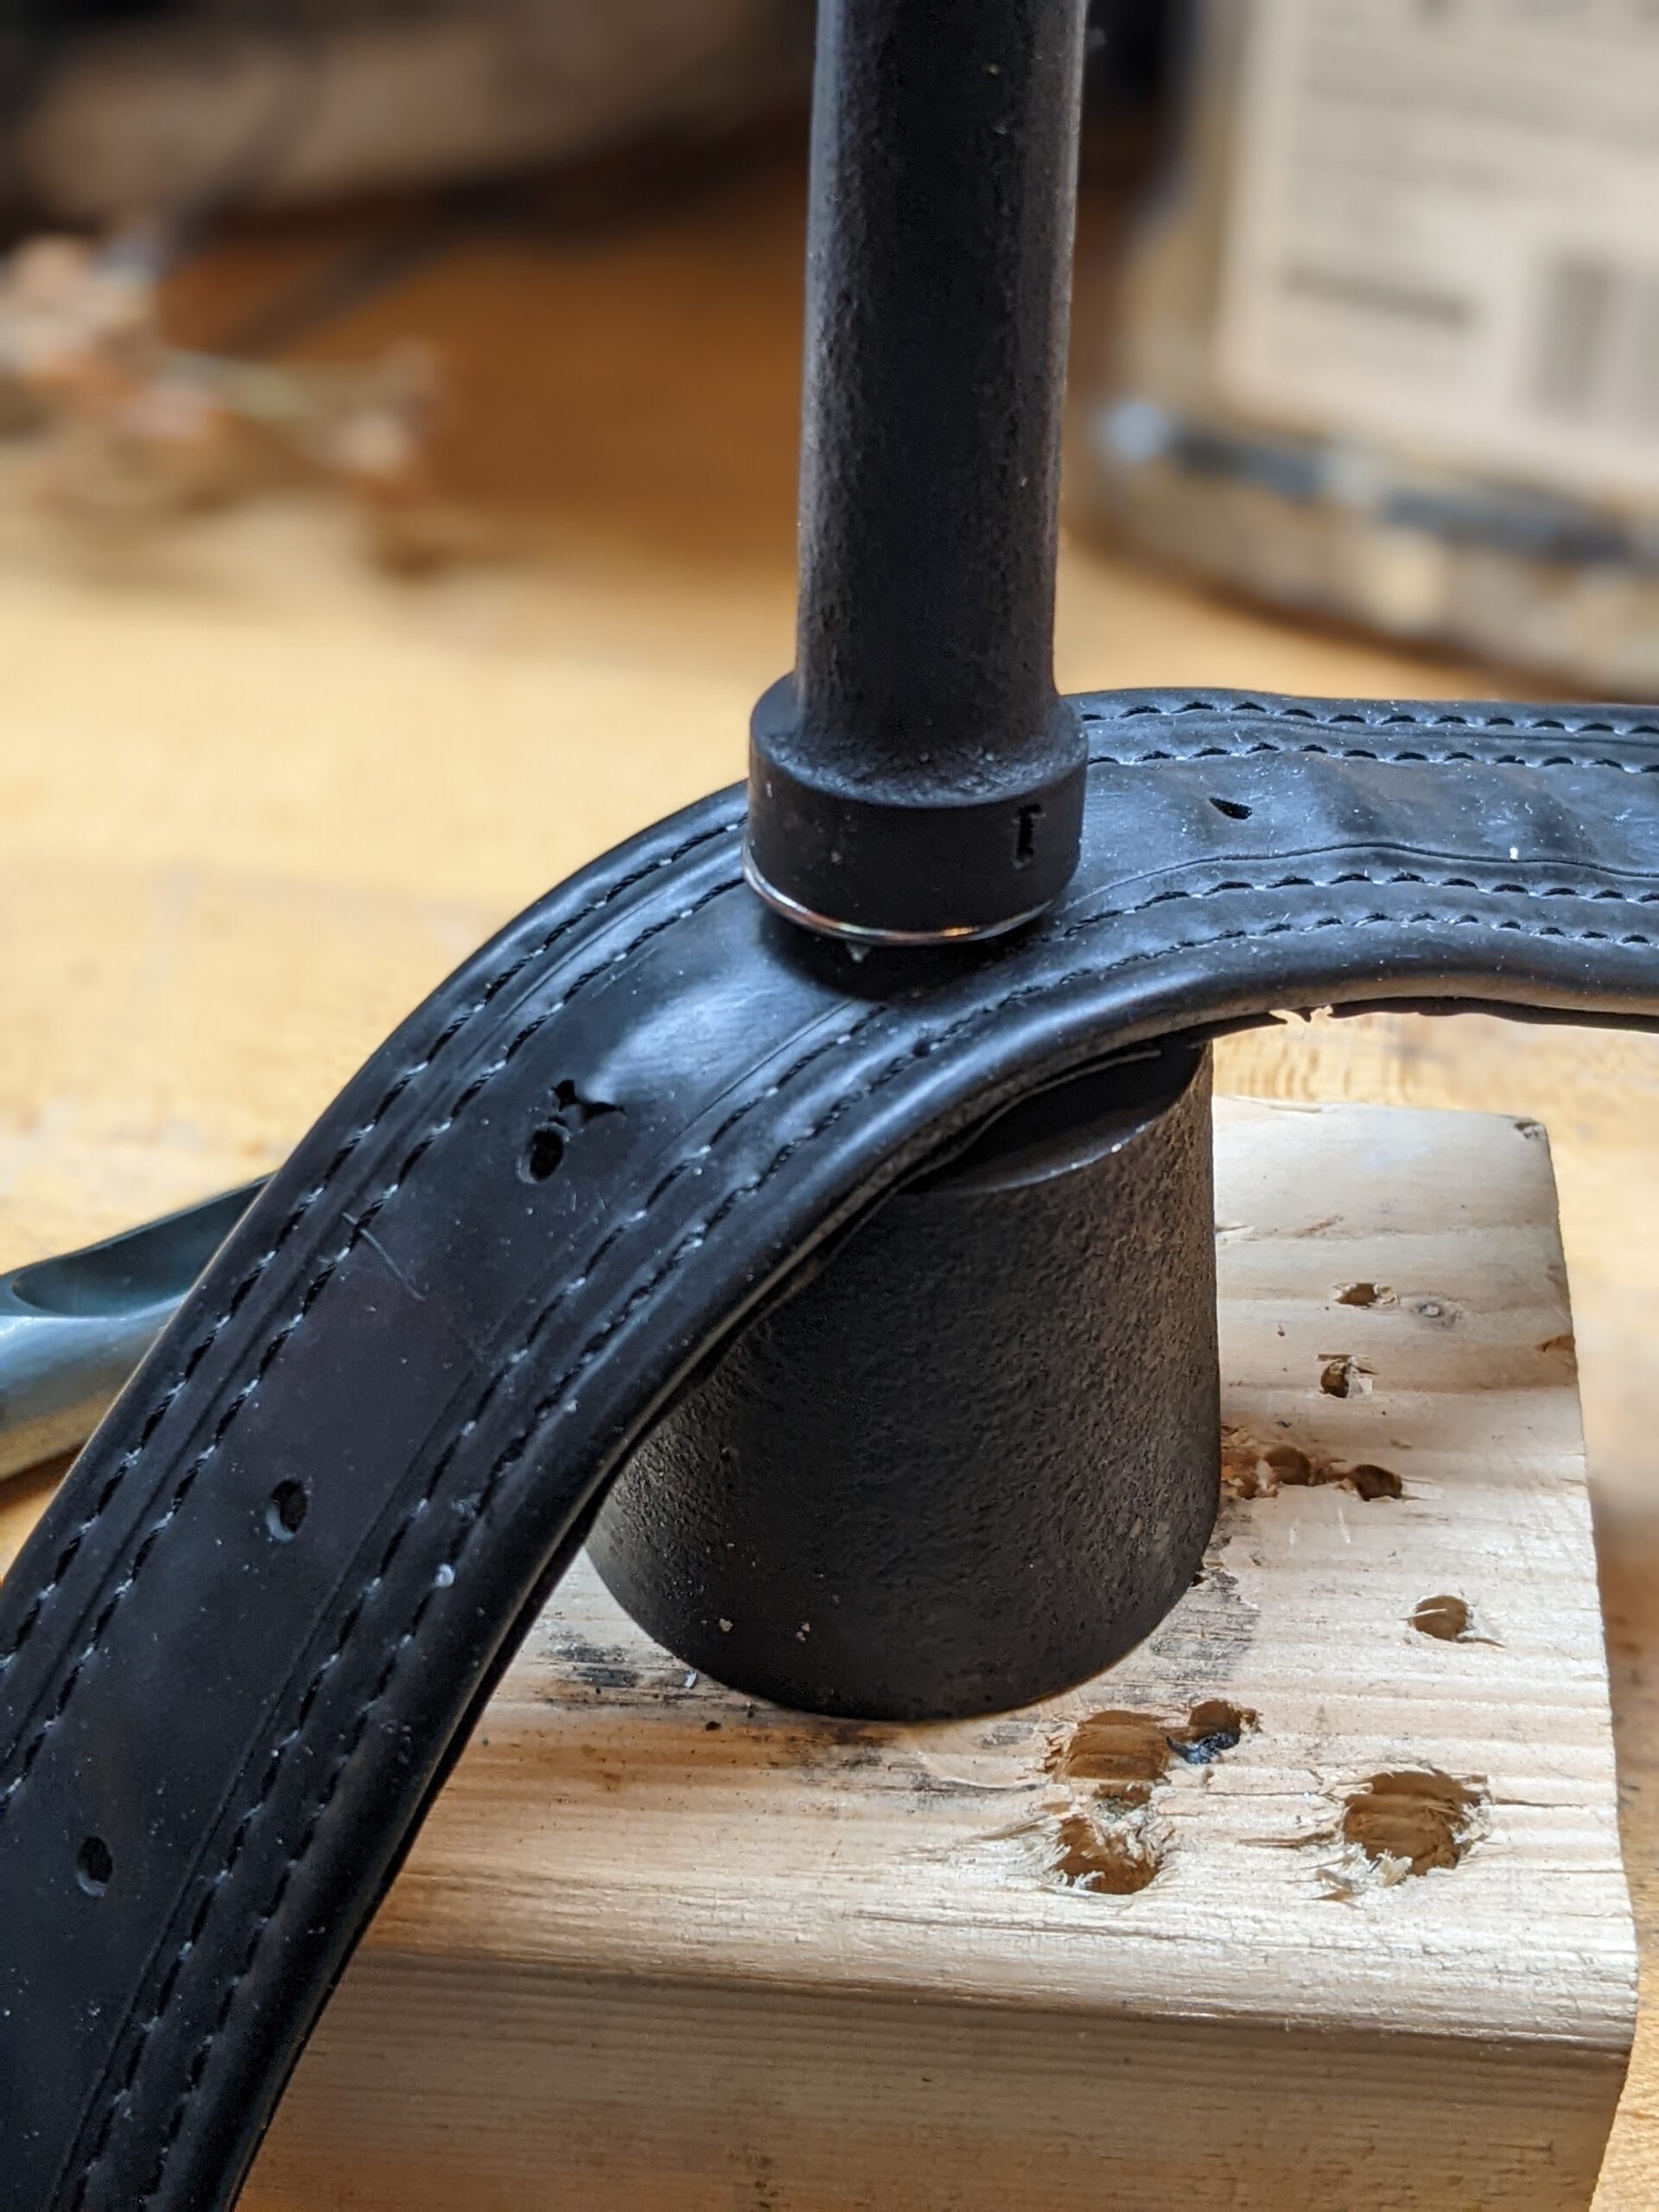
    the belt is sandwiched between two pieces of a grommet setter and die

    And voila! The hole was reinforced and usable again:
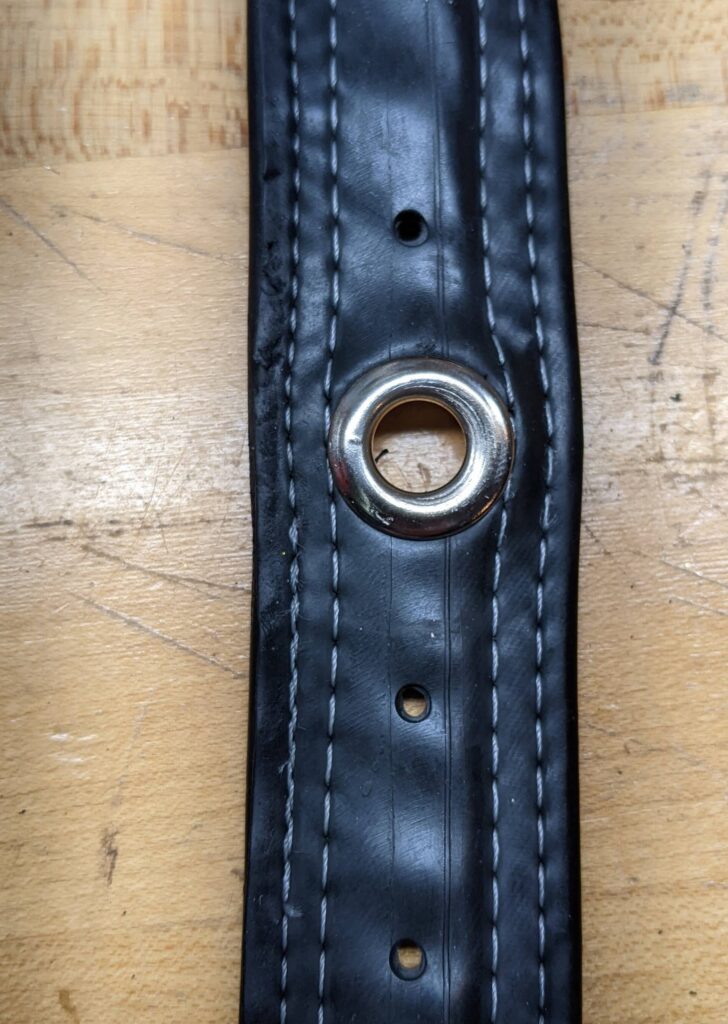
    the original belt, now with a gleaming grommet installed that is a little too big

    It does look a little distorted, not that I think anyone ever looks closely at my belt. Maybe if I had cut a bigger hole there would be less material to bunch up? I have two sizes of cutter and can’t remember which one I used.

    A smaller grommet might help as well. But regardless, my fix mates with the other part of the buckle perfectly:
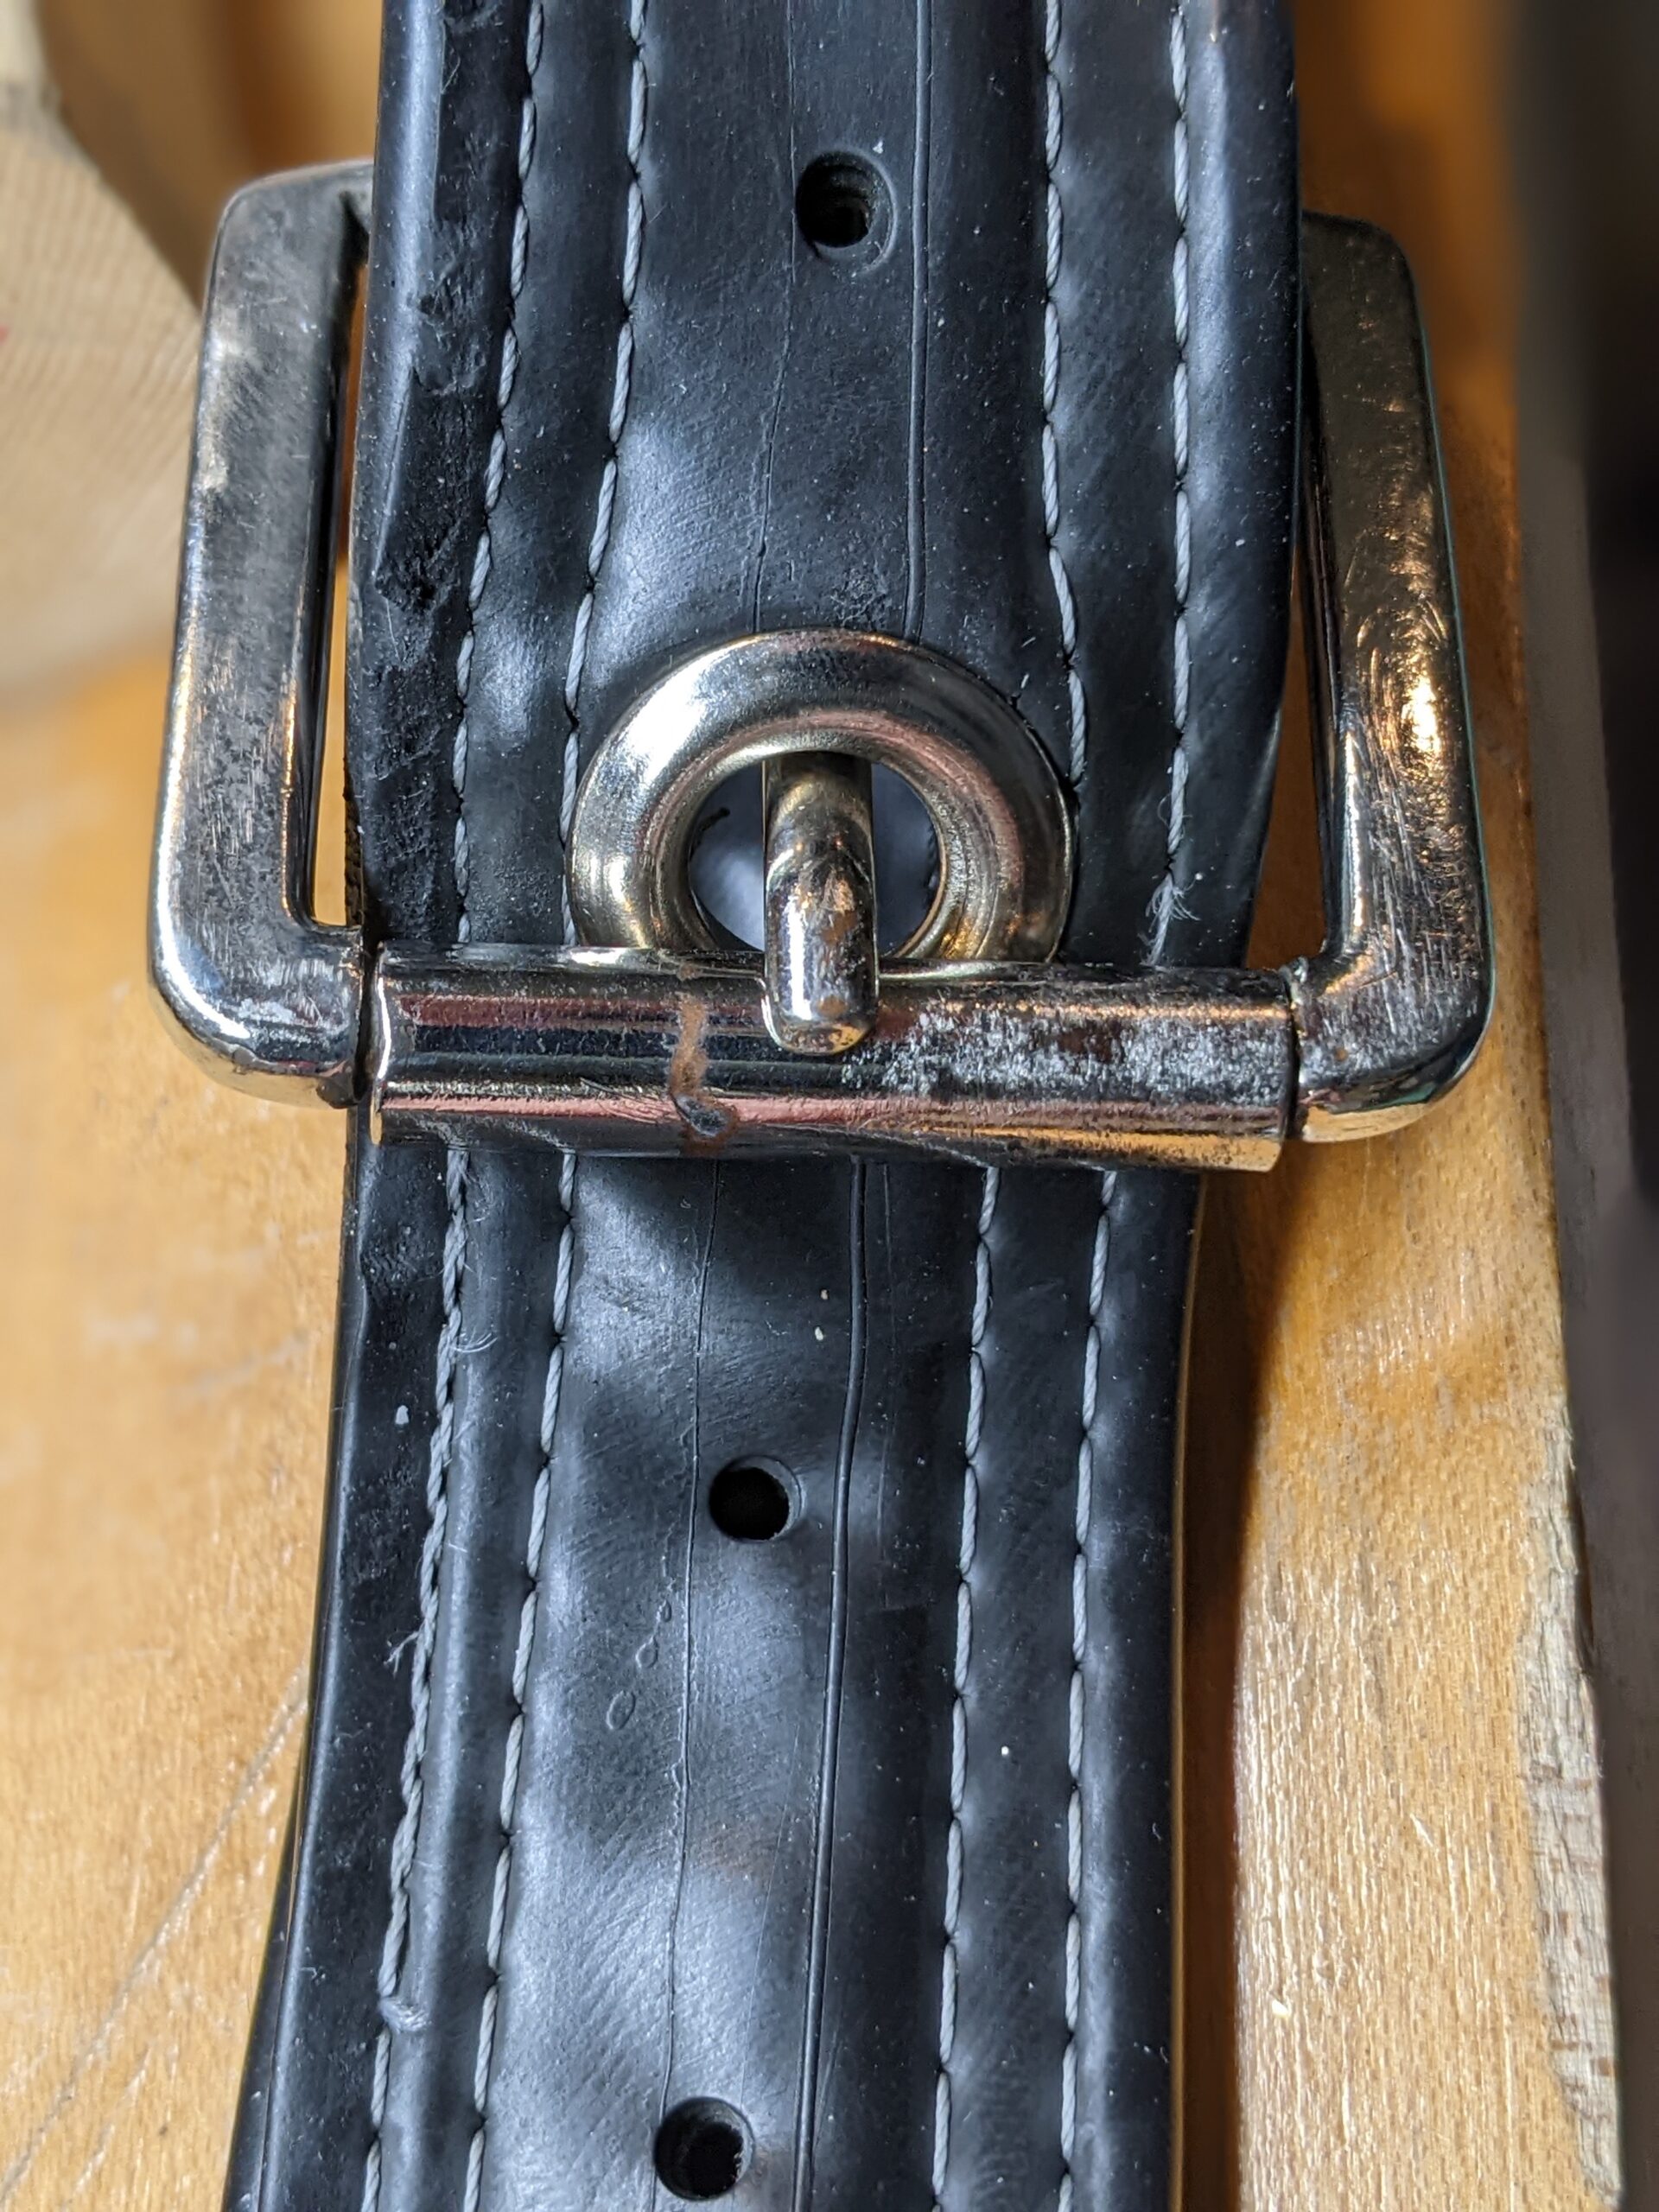
    the closed belt, with the long skinny poker thing inserted through the grommet and held against the bar.

    Of course, one of the holes now of course looks different from the others, but I like that – the belt is now sized precisely for me. This repair technique also offers the opportunity to install a hole at any point, in case the user of the belt wants to wear it a little tighter or looser than the old hole allowed.

    The grommet would grip tightly anywhere, it doesn’t have to go where the old hole went. So you could buy a belt that doesn’t fit at a thrift store, or get a belt from a loved one, and create a strong hole exactly where it will fit you.

    Was it silly that I spent $70 on tools to fix a $40 belt? Well, I wanted to fix the dang belt and didn’t have another option. But (if you know me, you know what’s coming next) now I can lend the tool to people! And it will cost them $0. Maybe we can get more belts fixed.

    Here’s the grommet tool’s listing on Meutch, the peer-to-peer sharing site. Since that link will expire in 30 days, I’ll throw in a screenshot here to illustrate:

    a screenshot of meutch.com showing hole cutters and an inserting die for spur grommets for loan

    If you live in Ann Arbor, feel free to request the grommet setting kit from me on Meutch. Maybe you can repair your belt, or shower curtain, or make something attachable with a carabiner, or …

    I’m looking out for other uses for this tool. For instance, I installed a grommet on the safety clip for my bike carrier, a device I invented to tow bikes around town and that I intend to write up in its own post.

    That’s all. I hope this helps someone who believes their belt has more life in it even after a hole tears out!
    No comments on Installing a grommet to fix my belt’s torn hole
  • Mending Chipped Ceramics with JB Weld Kintsugi
    ,

    Mending Chipped Ceramics with JB Weld Kintsugi

    Kintsugi is a Japanese technique for visibly repairing pottery. It’s aligned with the aesthetic of wabi-sabi (I still don’t fully understand wabi-sabi despite having enjoyed reading this book about it to my kids). Kintsugi is right up my alley and is similar to sashiko, a visible mending style I’ve come to love.

    Traditional Kintsugi is done with ingredients that are hard to work with (urushiol, think poison ivy sap turned into resin) or acquire (gold leaf). And it takes a long time to cure. I looked for a modern equivalent that would provide a shortcut. And I found this comment on Reddit from the appropriately named user Zentactics:

    I’ve done it on a few plates and bowls. If the chip is deep, I’ve used painter’s tape to support the JB weld while it cures. Afterwards, I’ll remove it and sand it down to the shape I want it to be. Depending on the chip, it may be easier to layer it, both methods work. Once the JB weld is built up and cured, I’ll put a super thin layer of JB Weld and dust it with gold Alumidust (Alumilite). A brush can be used if needed. I’ll then gently pat it down with my fingertip to embed it. All of the items I’ve fixed have been in the dishwasher and microwave dozens of times and seem to be holding up well.

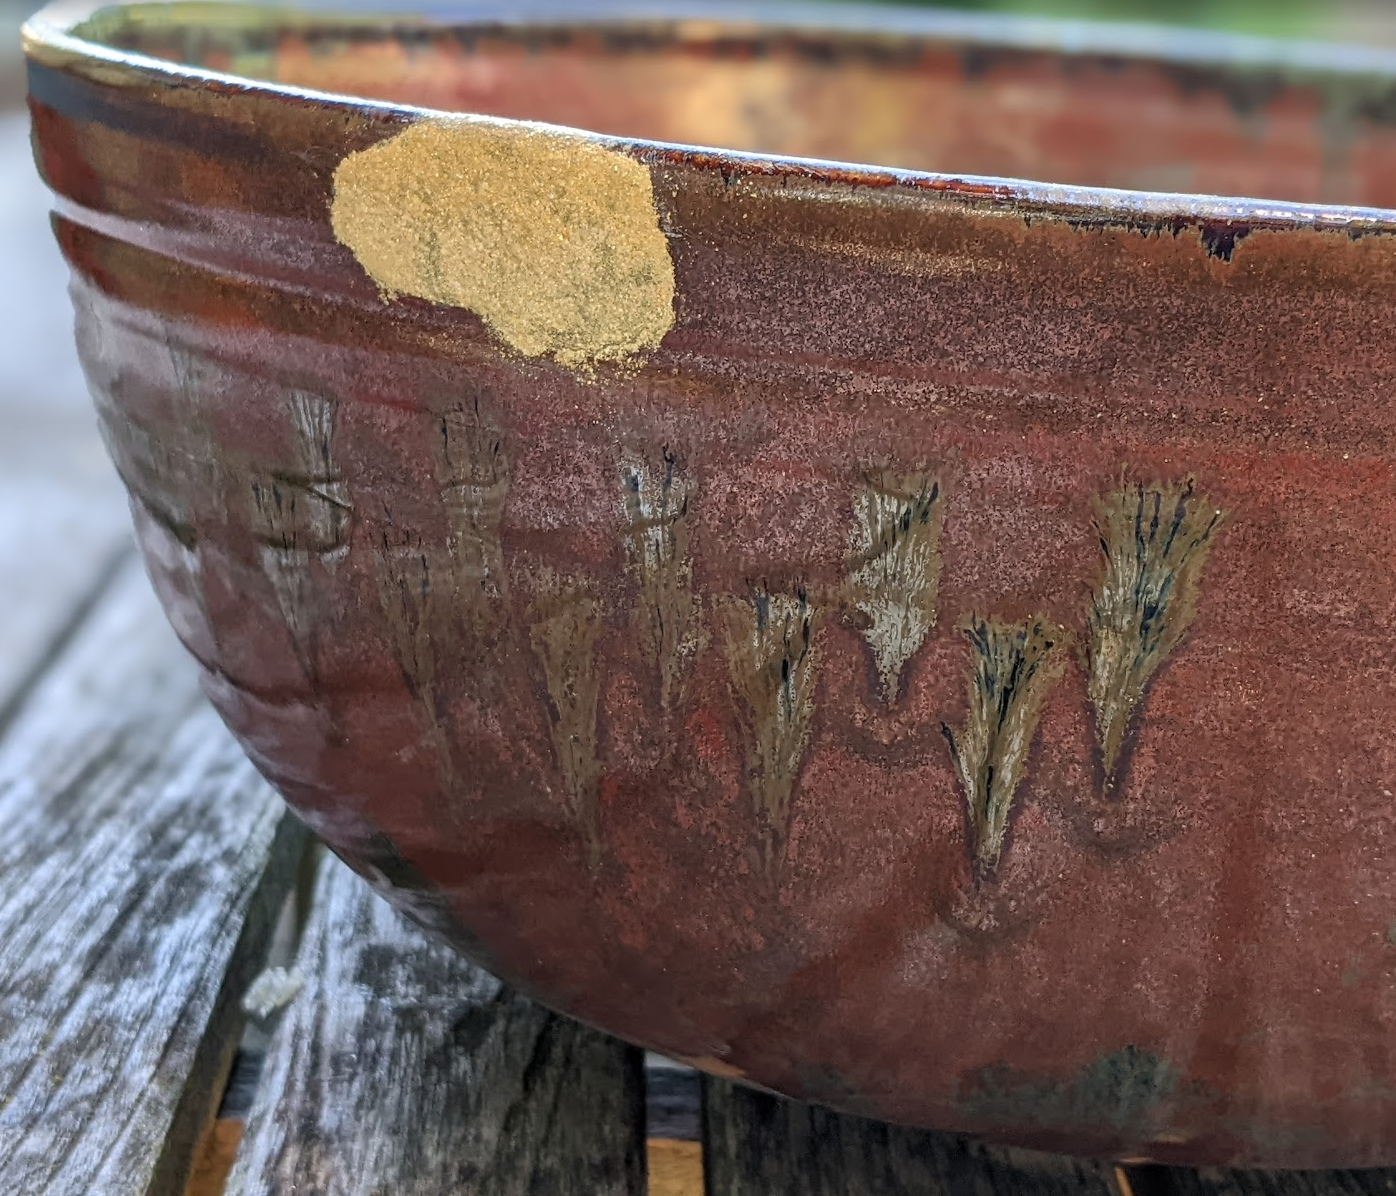
    I followed that approach and it worked great! I’ve repaired a few things but my biggest and favorite repair has been on a large, one-of-a-kind handmade ceramic bowl I’d received as a gift. Here’s the story of that repair and what I learned, with pictures.

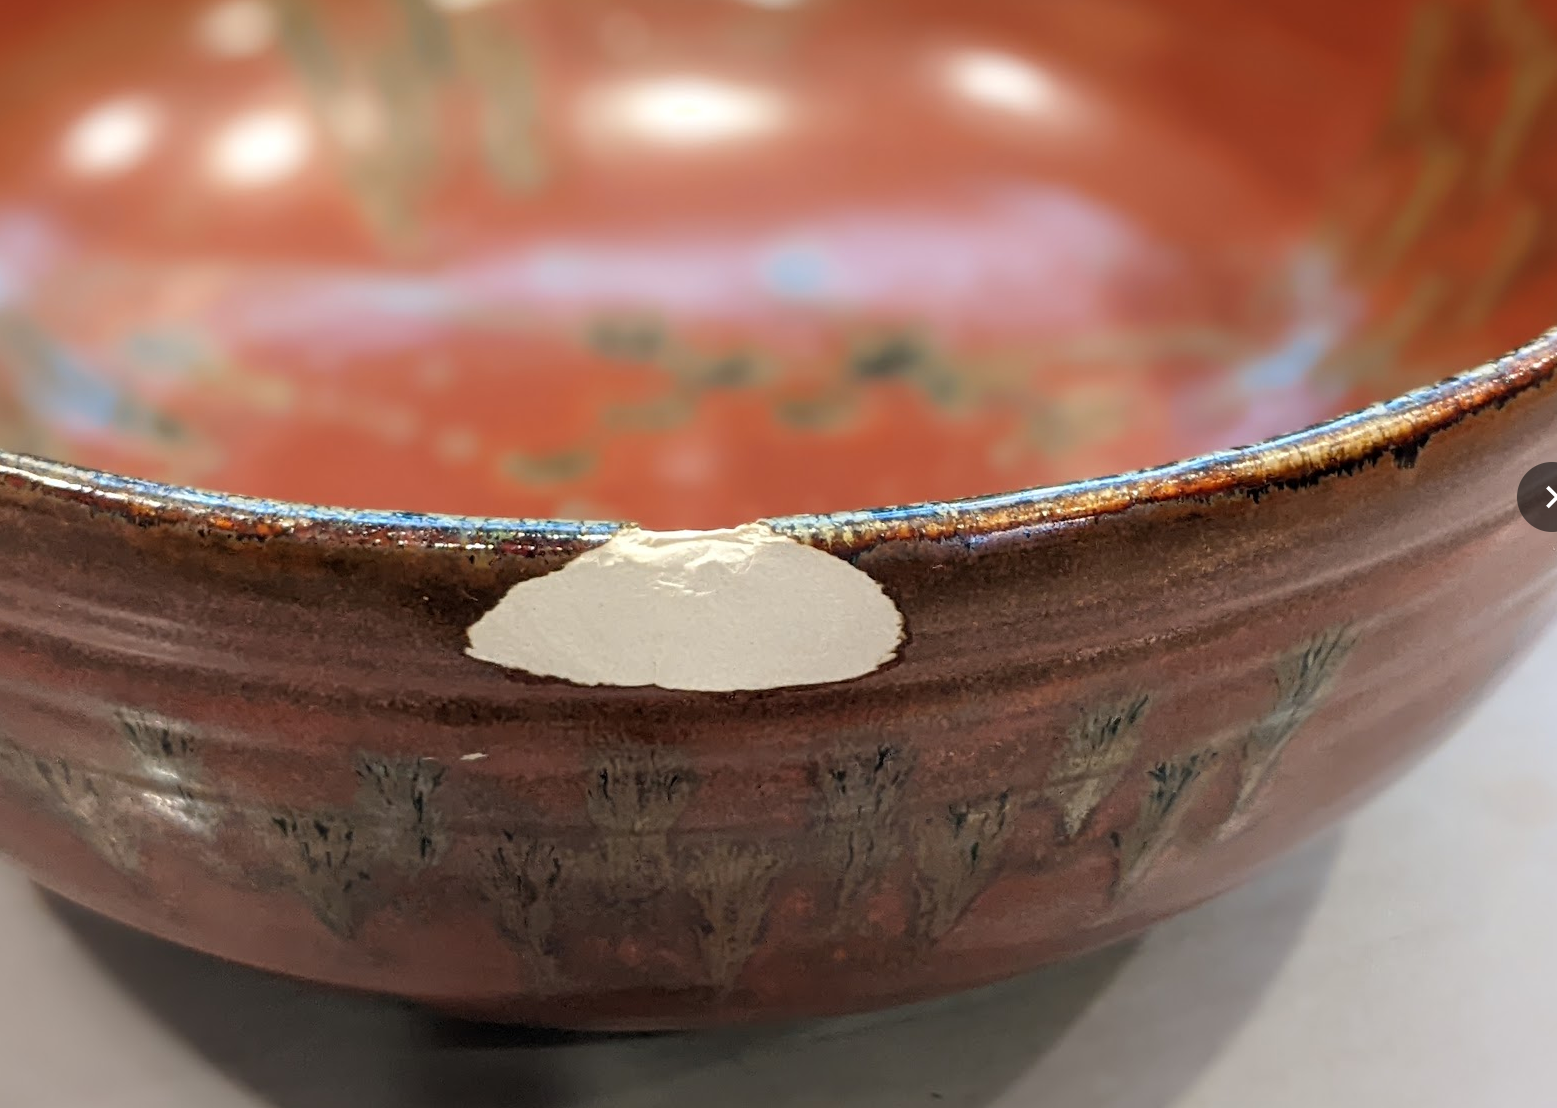
    The break: with the bowl sitting on the counter, I reached way up on my tippy-toes to get the hot sauce and bang! The hot sauce toppled off the shelf and crashed into the rim of the bowl:

    The fresh chip

    Notes on materials:

    • Some people seem to use the JB Weld SteelStik product but I used the classic two-part epoxy and it worked great.
    • Amazingly, from what I can read, both original two-part JB Weld and mica dust seem to be non-toxic when cured.
    • That said, I have been hesitant to use JB Weld on a part of a coffee cup that gets submerged under hot liquid. But I feel confident repairing chips in handles and rims that hardly ever come in contact with food.
    • For my Michiganders: Alumilite, who manufactures the mica dust I use, is headquartered in Kalamazoo!
    • Warning: mica dust gets everywhere! It’s worse than glitter. I work outside when possible.

    Okay, onto the repair. I don’t typically have the foresight to take photos but this time I did so I’ll mostly let them speak for themselves.

    (more…)
    1 comment on Mending Chipped Ceramics with JB Weld Kintsugi
  • Mending knee holes with sashiko
    , ,

    Mending knee holes with sashiko

    I love repairing things. For several years I’ve hoped to take up sewing to extend my fixing skills to clothing. Sheltering-in-place during COVID-19 has provided opportunities to try my hand at mending ripped knees in my family members’ pants. It feels good to sit in peace and make something whole again. Apparently I’m part of a trend, with mending and in particular visible mending gaining in popularity.

    I asked my friend Cassie where to start in mending holes in knees and she pointed me to the book Mending Life, which had steps that were thorough, clear, and seemed doable – with handy illustrations (pp. 96-103). So I took a shot at it. So far I’m 3 of 3! None are perfect but all three exceeded my expectations. Below are photos.

    Specifically, I have been trying to emulate sashiko, a Japanese decorative reinforcement stitching technique. I sewed the first patch with a piece of thick thread I found in my sewing box. The next two I did with proper sashiko needles and thread I ordered online. (As with most of my things, if you live near me and want to borrow them, just ask).

    I chose contrasting thread and patches to emphasize the repair jobs. I’m proud of my work, it normalizes repair and reuse, and frankly I think the unique & visible mends leave the clothing looking better than it did new.

    Sashiko patch #1: women’s jeans

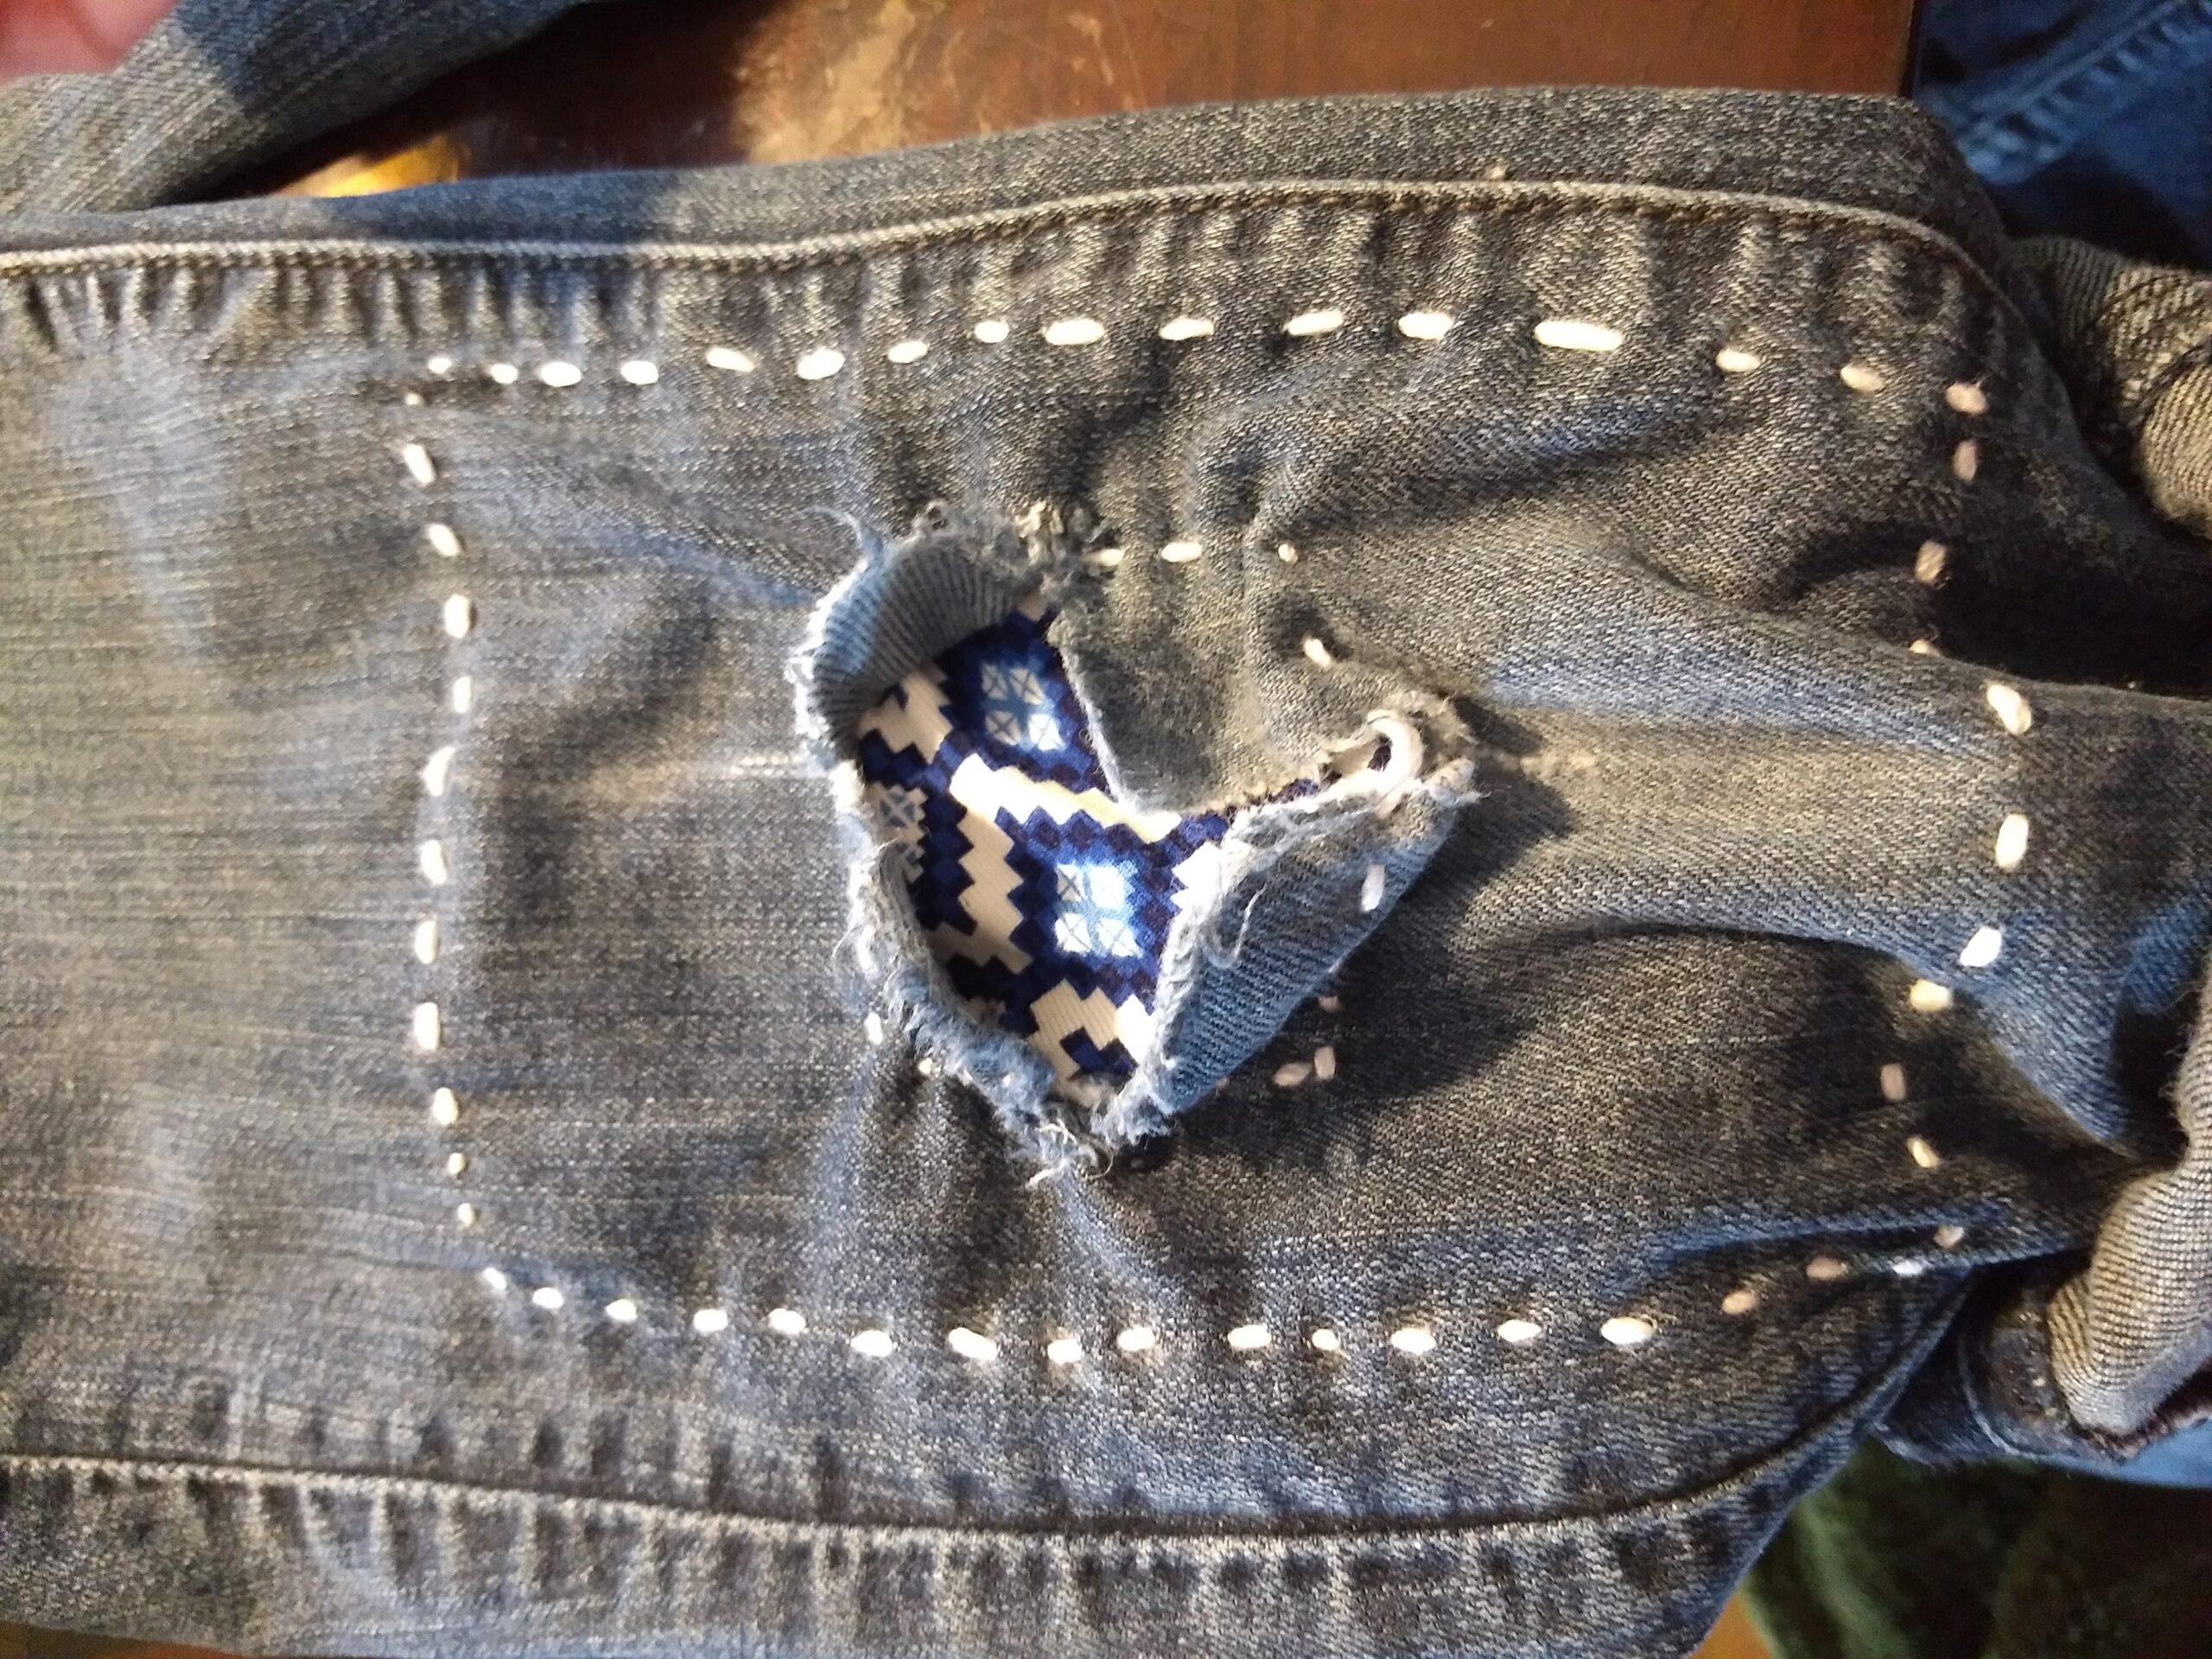
    The ripped fabric at the knee was exploding outwards. It was begging to be patched with the “exposed edge technique” (Mending Life), with an interesting pattern poking through.

    (more…)
    No comments on Mending knee holes with sashiko